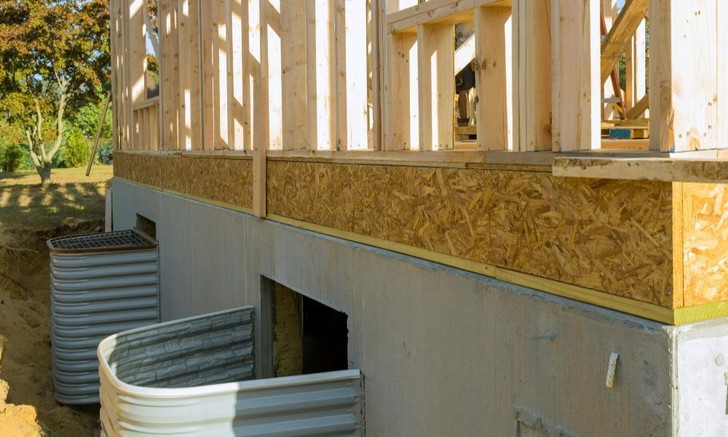
Ordering a window well cover requires you to take a series of measurements to ensure your cover fits correctly. It's a fairly simple step, but the measurements don't end there. Once you actually receive the cover, you'll need to take some additional measurements and carry out a few more tasks to get that cover as secure as possible. This guide will teach homeowners how to install a window well cover with ease.
Measurements
After buying window well covers online, you’re ready to install them at home. The first step for learning how to install window well covers is to take the proper measurements. To begin, place the cover on top of the window well. Once it is in a comfortable, secure its position and take measurements on both sides of it. For each side, measure four to six inches from the closest side to the wall and mark it with a piece of tape.
After the tape is in place, use a pen or marker to mark on the tape where the edge of the well cover meets the edge of the well itself. If you’re installing a cover that requires more than two clips, make the same measurements as before but do it at the front of the well too. Now that you know how to start measuring window well covers, you can move to a more hands-on step—drilling.
Drilling
Next, remove the cover, so you can drill holes for the clip. Don't use an old, worn drill bit for this because you'll run the risk of breaking the cover. Another tool you'll need to use to prevent the cover from receiving damage is a 2-inch by 4-inch piece of wood. Place the wood underneath the area of the cover you're going to drill through. Once you have it in a stable position, drill the areas you marked in the previous step.
Before drilling, inspect the nails you're going to place in the holes to keep the clips secure. The reason for this is that, when drilling these holes, you need to make the diameter of each one barely larger than the diameter of the nails themselves.
Clips
After making the holes, you can begin installing the window well cover clips. These clips need to be secure and tight enough to latch onto the well, so don't be afraid to double- or triple-check before making the final installation steps. If these clips are too loose, the cover won't be able to properly protect the well.
The Final Steps
If the clips are tight enough to properly secure the cover to the window well, you're ready to do exactly that. After attaching the prongs to the edge of the window well, your cover should be ready to do its job. That being said, you shouldn't forget to inspect the cover after installing it. Keep an eye out for issues such as the cover not fitting correctly, as well as signs of warping or bending in either the cover or the clips.
Learning how to install a window well cover properly helps you ensure that the cover will protect your window well from the elements. While these covers can improve the beauty of your window well, there are extra steps you can take to enhance its visual appeal even further. If you maintain a clean well, decorative window well liners will transform your basement window’s view from gravel and metal to a serene river or vibrant forest. Look at the custom window well covers available today to begin planning your installation when you’re ready.
Request your free quote on our website today!

 Lifetime Warranty On All WWS Covers
 Free Shipping On All Products


 (262) 633-3707

 info@windowwellsupply.com
