Window wells don’t need any special frills to do their jobs, but they can get a little drab. The duties of a window well are threefold: keep water, soil, and critters out; let sunshine flow in; and provide a means for someone to escape from the basement in case of emergency.
None of these reasons demand anything more than a strong wall and an easily opened window. Still, if you’ve turned your basement or cellar into a family room, it’s a little off-putting to look out the only window and see…nothing. Fortunately, window well liners can liven up an otherwise utilitarian space. Here’s how to choose and install a window well liner that’ll brighten up the view from downstairs.
What Are Liners?
The short answer: they’re images selected for their beauty and grace and printed on tough, long-lasting vinyl. The vinyl is of heavy gauge and the ink is UV-protected, guaranteeing long life even when exposed to sunlight, rain, snow, dirt, and other environmental factors.
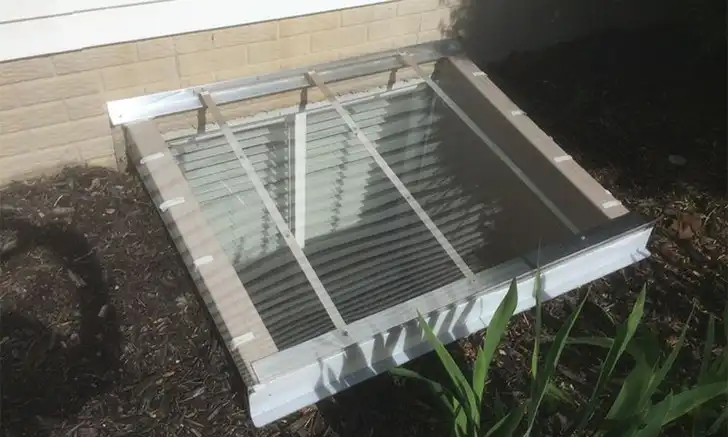
Note: if you haven’t already, you should consider installing a window well cover to protect the image, and more importantly, your well, windows, and basement from intrusion, leaks, and plant growth.
How Do You Install It?
Each liner comes with all the necessary installation materials. The liner’s material allows for easy installation with peel-and-stick fasteners, and it can fit the curve of almost any well. If it’s too big, you can adjust it with scissors or shears, easily trimming it down to the proper size. A one-person job, it may help to have someone tell you how it looks from the inside. A quality window well liner installation not only enhances the view from your basement but also ensures lasting protection against the elements. Some people like to further decorate their window wells with potted plants and other decorations, but you should keep the well clear of obstructions. Ultimately, how you choose and install a window well liner is a matter of choice.
Take Your Pick
We offer a wide selection of decorative window well liners. Choose from a number of lovely outdoor scenes and themes-from pleasant forest views, waterfalls, and spreading fields to snow-capped mountains, burbling creeks, and beachside ocean views. We also offer rustic images of stone walls to give your view a more down-home or solid look. It’s all a matter of taste and depends on whether you want to trick the eye with an illusion of distance or simply make things seem homelier. In more citified environments, a basement window scene can add some needed charm and warmth to an alley view.
No matter your style preference, selecting the right window well liner and ensuring proper installation will help create a durable, attractive view from your basement.