Knowledge of how to install basement window wells isn’t something all homeowners have. This is why some homeowners opt to have a professional come in and install it. However, those with a more DIY kind of attitude can install window wells with the right tools and a helpful guide to the subject. These steps for how to install basement window wells will show hands-on homeowners how to supply their property with this beautiful and beneficial amenity.
Measure the Basement Window
First, you have to use a tape measure to determine the length and width of your basement window. Once you take those measurements, tack on six inches to the width and eight inches to the length. This will ensure your well properly encompasses the exterior of the window.
Choose a Window Well That Fits Those Dimensions
Next, you’ll have to shop around for window wells that fit those specific dimensions. Window wells come in many different styles, so make sure to find one that is visually appealing. The well material can also vary, so be sure to get one strong enough to protect your basement window. Metal and plastic window wells are typically the best options for both visual appeal and durable protection.
Dig the Hole
Now, it’s time to begin digging the hole in which you’ll place the window well. Start digging the hole about six inches from the exterior of the window. The hole needs to be five inches deeper and six inches wider than the original window well dimensions you recorded. If you’re doing this without professional help, there are two very important steps to remember:
- Have a container, like a tarp or a wheelbarrow, nearby so you can place the dirt inside as you dig and then easily transport it from the hole when you’re done.
- Contact the companies associated with your utilities to ensure you won’t be digging into any water, gas, or power lines while making your hole.
Make the Drain
Next up is the construction of the drain, which requires three simple steps.
Start with an Auger
The first thing you’ll need to do when making your drain is bore a hole with an auger. An auger is a tool that creates vertical holes that are ideal for basement window well drains. Use the auger to dig a hole in the center of the window well hole until it strikes the layer of gravel beneath your home’s foundation.
Install the Drain
After boring to the gravel, you can place the drain inside of the new hole. To do this you only need two things—a perforated tube and a drain cap. Before buying the perforated tube, measure the depth of the drainage hole so you can get a tube that fits well. The diameter of the perforated tube should be four to five inches. Don’t forget to put the drain cap on top of the tube to ensure no gravel or other forms of debris work their way inside, which can result in clogging.
Add Gravel
Use gravel to fill in the empty space between your perforated tube and the walls of the drainage hole all the way until it reaches the drain cap. Doing this is very beneficial for two reasons:
- It keeps the perforated tube securely in place.
- It provides better drainage for your window well.
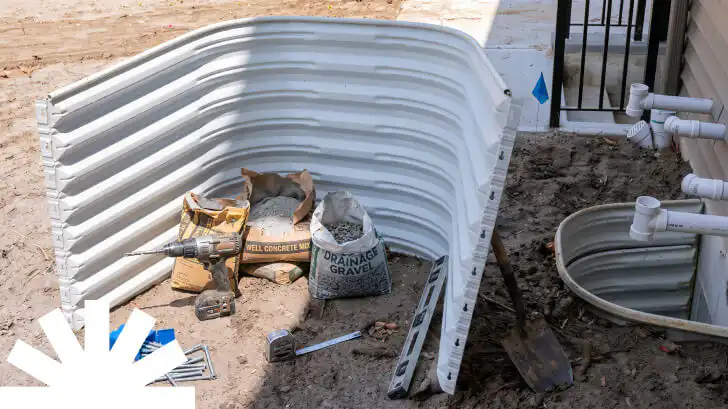
Place the Window Well Inside the Hole
When you place the window well into the hole, make sure it fits securely on your foundation. You also must make sure that the edges of the window well’s sides are about three inches from the window itself. The top of the well should raise around three inches above the dirt. If the well isn’t straight enough, pack some more dirt underneath it to even it out.
Once you do this, find the predrilled holes in the window well. Mark the areas on your foundation where those holes line up. If the window well is still shifting at this point, you need to readjust it. Don’t commit to the position if the well is moving around too much. Once you secure the well and place the marks, you can take the well back out of the hole.
Drill Pilot Holes
Find the areas you just marked on your foundation and begin drilling holes that are two inches deep. For this task, use a hammer drill outfitted with a 3/8-inch masonry bit. Don’t forget to wear a pair of safety goggles as a precaution while you do this.
Secure the Well with Screws
Use masonry anchors with a diameter of 3/8 inches and a length of 1 7/8 inches to screw your window well into the pilot holes. To do this, you’ll need to remove the nuts from the anchor sleeve. You don’t need any tools for that, as the nuts should simply unscrew from the sleeves. After removing the nuts, slide the anchor sleeves into the pilot holes.
Now, you can put the well back into the hole for the last time by lining it up and sliding it onto the anchor sleeves. Once that’s complete, screw the nuts back onto the anchor sleeve with the help of a socket wrench. If the well is still loose afterward, try again. Just like the first time the well was in the hole, don’t commit to a position if it isn’t secure enough.
Fill the Well with Gravel
Pour a two to three-inch layer of gravel at the bottom of the window well. Use your shovel to pack the gravel down and shift it around if it isn’t properly even. If the gravel reaches your windowsill, it’s too high. There should be some space between the layer of gravel and your windowsill to avoid water leakage.
Use Dirt to Fill in Remaining Spaces in the Hole
To fill in the remaining empty spaces in the hole for the well, use the dirt you have from digging the hole in the first place. As you place the dirt inside, periodically press down on it with your foot or the shovel. This will help ensure the dirt packs tightly enough around your window well. Leave a few inches of the window well sticking above the ground instead of filling it right up to the brim.
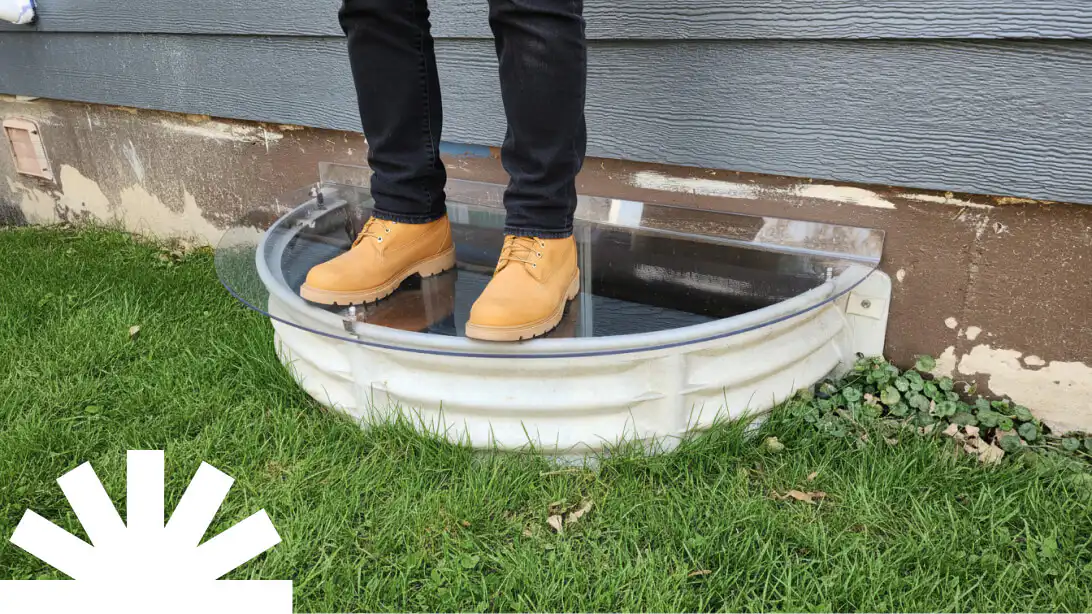
Install a Cover
Now that the window well is finally ready, you can install the cover on top. A quality cover will provide your well with durable protection from the elements, along with the same fresh air and natural light that window wells should always supply. Knowing how to secure a window well cover properly is essential to ensure it stays in place and functions effectively.
If you choose a permanent cover, attach it to your foundation by drilling holes with a hammer drill and masonry bit before securing it in place with the help of sturdy anchors. Of course, you’ll need to make sure that the cover that catches your eye is the right fit for your window well’s opening. At Window Well Supply, we can provide you with custom window well covers made from heavy-duty polycarbonate that will fit perfectly over the opening for maximum protection. All you need to do is fill out our free request a quote form!